Hiii! Hope everyone is having a good Sunday!
I was in the mood for a fancy-ish design recently unlike the simple stuff I was feeling the past few weeks so I pulled out some stuff and got to work. I've seen this design on several Instagram pages in past months and figure I'd give it a try.
Products Used:
ORLY Bonder Basecoat
Wet N Wild French White Cream
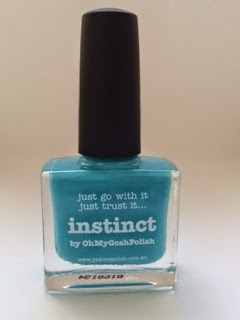
OPI I Just Can't Cope-acabana
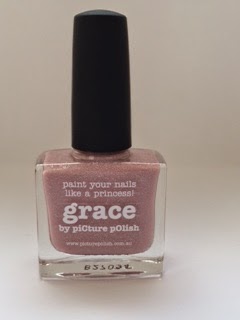
OPI DS Reflection
OPI DS Extravagance
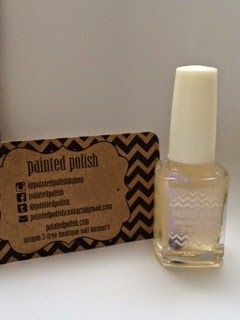
ORLY Luxe
Glisten & Glow HK Girl
Striping Tape
#00 Nail Art Brush
Tweezers
Scissors
Clean-up Brush

Here's how it went down.
I did one kinda thick coat of French White Cream on my middle and ring fingers and went over with a thin coat of HK Girl. I wanted it to dry quickly so I could apply the striping tape.. Be sure to wait until the base is completely dry before applying the tape. Once that was dry I applied striping tape horizontally and then diagonally in a criss-cross style to create little triangles on the nail. I then filled in each little triangle with DS Reflection, DS Extravagance and Luxe in as random a design as possible. Once all the triangles were done I pulled off the striping tape and went over with a final coat of HK Girl..
My other naked nails got two coats of I Just Can't Cope-acabana and everything was then sealed with HK Girl.
Here's the finished product. It reminded me of mosaic tiles hence the name of the post.


Hope you like it. Until next time...